Getting Setup with Tmux & Nvchad
The chadiestest of all chads.
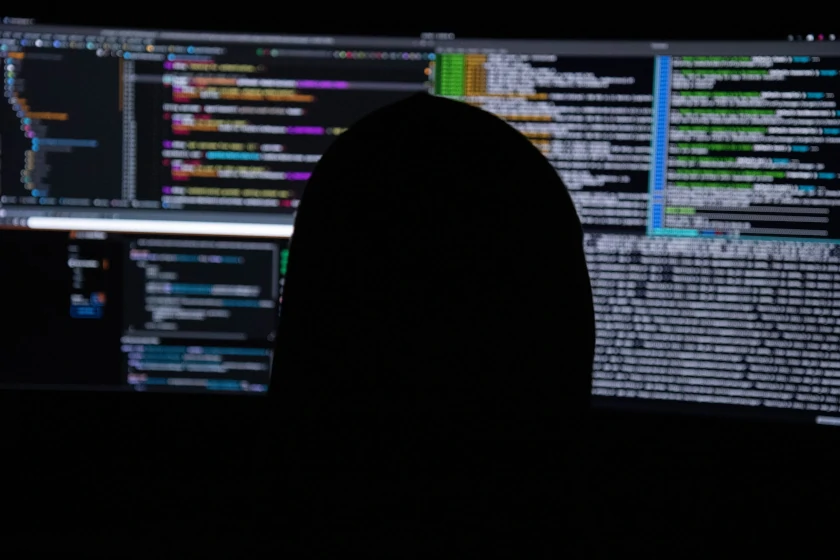
This tutorial shines on the steps I pathed through to get up and running with Tmux and Neovim. If this is your first time with tmux and neovim, I recommend fiddling around with tmux and neovim beforehand. The main idea with this setup allows a programmer to keep their hands on the keyboard at all times.
We are transforming our common habits of using a mouse with GUI IDE's into keeping our hands on the keyboard at all times. This configuration allows for navigating between different windows, lint checking and many other common advancements made from GUI, but without the point and click methodology that a GUI provides.
General Requirements
- Linux CLI experience
- Tmux https://github.com/tmux/tmux
- Tmux Conf https://github.com/dreamsofcode-io/tmux
- Neovim https://github.com/neovim/neovim
- NvChad Neovim Configuration https://nvchad.com/docs/quickstart/install (Requires Neovim 0.9.0)
- Tmux Plugin Manager TPM https://github.com/tmux-plugins/tpm
- Git https://www.atlassian.com/git/tutorials/install-git
Tmux Requirements
- autoconf
- automake
- make
- optional Ubuntu: libevent-dev
Neovim Requirements
TPM Requirements (Tmux Plugin Manager)
- Tmux v1.9+
- git
- bash
Installing via Ubuntu Package
Note: this will install the Ubuntu version and may be behind the most recent update.
sudo apt install neovimNote: currently, installing it via ppa didn't work for me when applying the nvchad configuration; I had to build it from Source.
Building/Installing Neovim via Source
First, be certain you have the appropriate build prerequisites.
On Ubuntu, you can do this via the following command:
You may discover new platform requirements here:
https://github.com/neovim/neovim/wiki/Building-Neovim#build-prerequisites
Building/Installing Tmux from Source
See the Building Neovim wiki page and supported platforms for details.
https://github.com/neovim/neovim/wiki/Building-Neovim
Installing Tmux from Source (optional)
I chose to build/compile Tmux as a package application like .appimage. If you would like, you may also install via Ubuntu via sudo apt install tmux.
git clone https://github.com/tmux/tmux.git
cd tmux
sh autogen.sh
./configure && make
Configure Tmux
My ~/.tmux.conf was missing, so I created one manually and re-sourced.
Make directories manually
mkdir -p ~/.tmux/plugins/tpm
nano ~/.tmux.conf
Then, copy/paste the contents of dreamsofcode config into the new file.
https://github.com/dreamsofcode-io/tmux
tmux source ~/.tmux.confConfigure Tmux Plugin Manager
Put this at the bottom of ~/.tmux.conf
# List of plugins
set -g @plugin 'tmux-plugins/tpm'
set -g @plugin 'tmux-plugins/tmux-sensible'
# Other plugin examples:
# set -g @plugin 'github_username/plugin_name'
# set -g @plugin 'github_username/plugin_name#branch'
# set -g @plugin '[email protected]:user/plugin'
# set -g @plugin '[email protected]:user/plugin'
Initialize TMUX plugin manager (keep this line at the very bottom of .tmux.conf)
run '~/.tmux/plugins/tpm/tpm'Then, re-source your tmux.conf
tmux source ~/.tmux.confInstall Nerd Font for Terminal
I chose to install Hurmit.otf font via a font-manager, but you may chose the font you prefer at:
https://www.nerdfonts.com/font-downloads
Optional: Install Font-Manager via Ubuntu PPA
sudo apt install font-managerExtract and add the fonts to font-manager
Then, in your terminal preferences, change the font to the nerd font you downloaded. Be sure the font type doesn't end with "Mono" too make use of the purrrty icons.
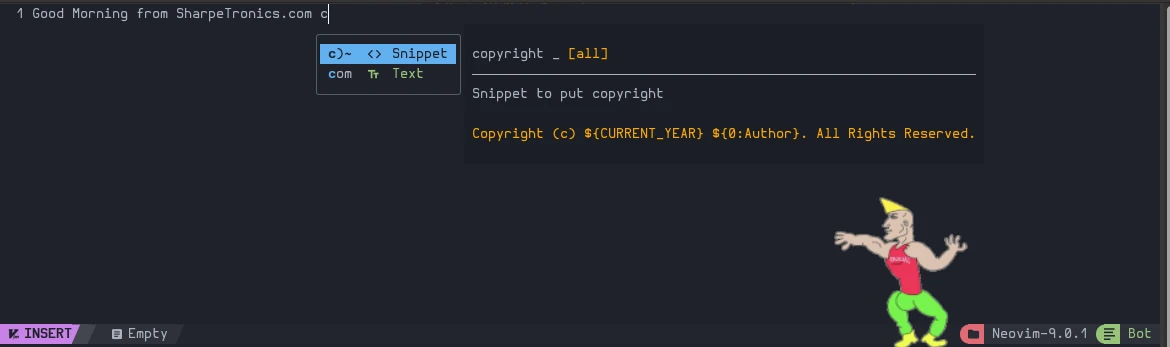
Install NvChad Neovim Configuration
The following command clones and copies the neovim configuration into ~/.config/nvim.
git clone https://github.com/NvChad/NvChad ~/.config/nvim --depth 1 && nvimIf you have an ol' config in ~/.config/nvim the above command won't work and you will need to remove the it and try again. Also, the second command launches nvim. Be sure your paths are setup correctly and or point to the ./nvim executable.
rm -rf ~/.config/nvim
rm -rf ~/.local/share/nvim
then, test the command above again.
git clone https://github.com/NvChad/NvChad ~/.config/nvim --depth 1and run nvim.appimage or if installed via ppa, nvim
./nvim.appimageIf you have an error with a missing directory for init.lua like I did, you may need to also remove the /share/nvim directory.
rm -rf ~/.local/share/nvimConclusion
In conclusion, we now have an up-to-date super chad terminal IDE to play in with tmux super powers.
Financial Support & Donations
I mainly debug code, drive, yak shave and deep dive into research for Linux base operating systems.
I am a Free Software Associate (FSF), privacy advocate and Cosmopolitan that enjoys philosophie, meta-physics, hacking and debugging computer hardware/software.
References
Tmux Source Code https://github.com/tmux/tmux
Build Neovim from Source https://github.com/neovim/neovim/wiki/Building-Neovim
Dreamsofcode Shared Tmux Config https://github.com/dreamsofcode-io/tmux
Tmux has forever changed the way I write code https://www.youtube.com/watch?v=DzNmUNvnB04
Tmux Cheatsheet Reference https://tmuxcheatsheet.com
Useful Tmux Config Examples https://dev.to/iggredible/useful-tmux-configuration-examples-k3g
Turn VIM into a full featured IDE with only one command https://www.youtube.com/watch?v=Mtgo-nP_r8Y
NvChad Download https://nvchad.com/docs/quickstart/install
P.S. In loving memory of Bram Moolenaar
 Charles
More Posts

Our Privacy Policy
Privacy Policy for SharpeTronics.com, LLC At SharpeTronics, accessible from https://www.sharpetronics.com, one of our main priorities is the privacy of...
Linux VPS Hardening
Planting Seeds Administration of a virtual private Linux server (VPS) without a GUI cpanel is the only way to...

Create Your Own Open Source Almost AuthaGraph...
The official Authagraph is a closed source mapping algorithm projection based on real world geometry. It was created by...